
Adobe Premiere Pro Explained: What It Is and How to Use It for Clean, Professional Videos

A good edit can turn ordinary footage into a clear story. Adobe Premiere Pro is one of the most common tools people use to do that, because it supports everything from quick social clips to long-form projects.
If you've ever asked, "What is Adobe Premiere Pro Used for?," the short answer is editing video on a timeline where you can cut, move, and refine clips without changing the original files. People use it for YouTube videos, online classes, ads, and short films, often on tight deadlines.
This guide explains the basics of the interface, how to complete a simple edit, which core tools matter most, and how to export a final file. You'll also see where After Effects fits in, since many editors pair it with Premiere Pro for motion graphics.
What Adobe Premiere Pro is, what it isn't, and how it compares to other editors
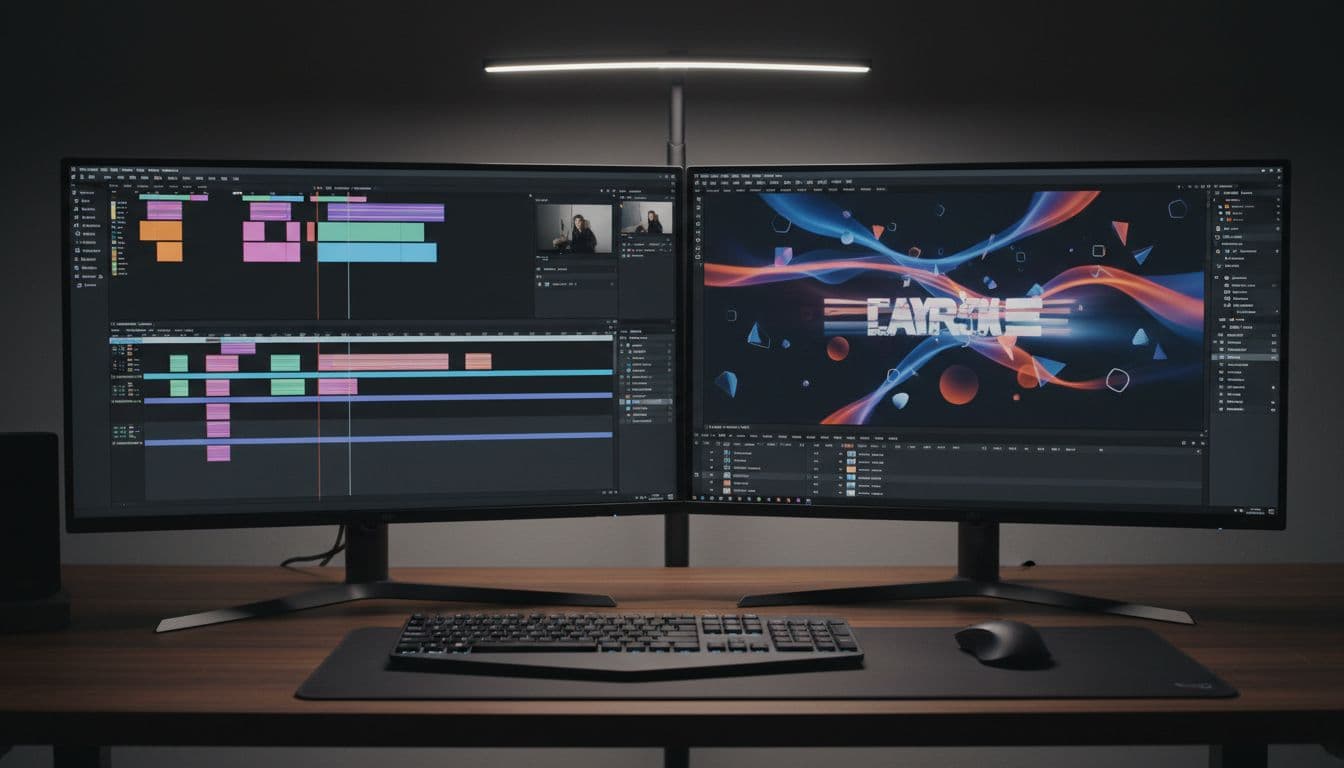
Premiere Pro is Adobe's non-linear editor (NLE). "Non-linear" means you can rearrange shots freely, because the software references your media instead of rewriting it. In practice, you work inside a project (which stores decisions and links), then build edits in a sequence (your timeline). You place clips onto tracks, usually with video tracks on top and audio tracks below.
Premiere Pro is designed for editing and finishing. It handles cutting, trimming, pacing, basic color correction, audio cleanup, captions, and export. It also supports common formats and proxies, which helps when footage is large or your computer is modest.
What it isn't: it's not a full 3D animation tool, and it's not meant for advanced compositing work where you combine many visual layers with heavy effects. You can do simple graphics and masks, but complex motion design belongs elsewhere.
People often compare it with Final Cut Pro, DaVinci Resolve, CapCut, or iMovie. Each has strengths. When someone asks "what is the best editing software," the honest answer depends on your budget, device, and goals. A student cutting class projects has different needs than a team producing weekly ads.
Premiere Pro typically uses a subscription model, and Adobe updates pricing and plan bundles over time. For a current, practical overview, the adobe premiere pro price per month Video Tutorial Guide can help you understand the options before you commit.
What is Adobe After Effects, and when should you use it instead?
The phrase "what is adobe after effects" points to a different kind of tool. After Effects focuses on motion graphics and compositing, not timeline editing. Premiere Pro builds the story and pacing; After Effects builds moving titles, visual effects, and layered composites.
Use After Effects when you need work like lower thirds that animate in and out, a logo animation for an intro, or green screen cleanup with more control. It also helps when you must track graphics to motion, or combine many effect layers in a controlled composition.
A simple rule helps: cut the video in Premiere Pro first, then send only the shots that need motion design to After Effects.
If the job is "tell the story," start in Premiere. If the job is "build the illusion," go to After Effects.
Getting comfortable fast: panels, the timeline, and a beginner setup that makes sense
Premiere Pro can look crowded at first, so focus on a few panels that do most of the work. A good starting point is the Panels and Interface Video Tutorial Guide, because it explains what matters and what you can ignore early on.
- Project panel: This is your media library. You import clips here and sort them into bins.
- Source Monitor: This previews a clip before it goes into the timeline. The Source Panel Video Tutorial Guide helps you learn marking and insert habits.
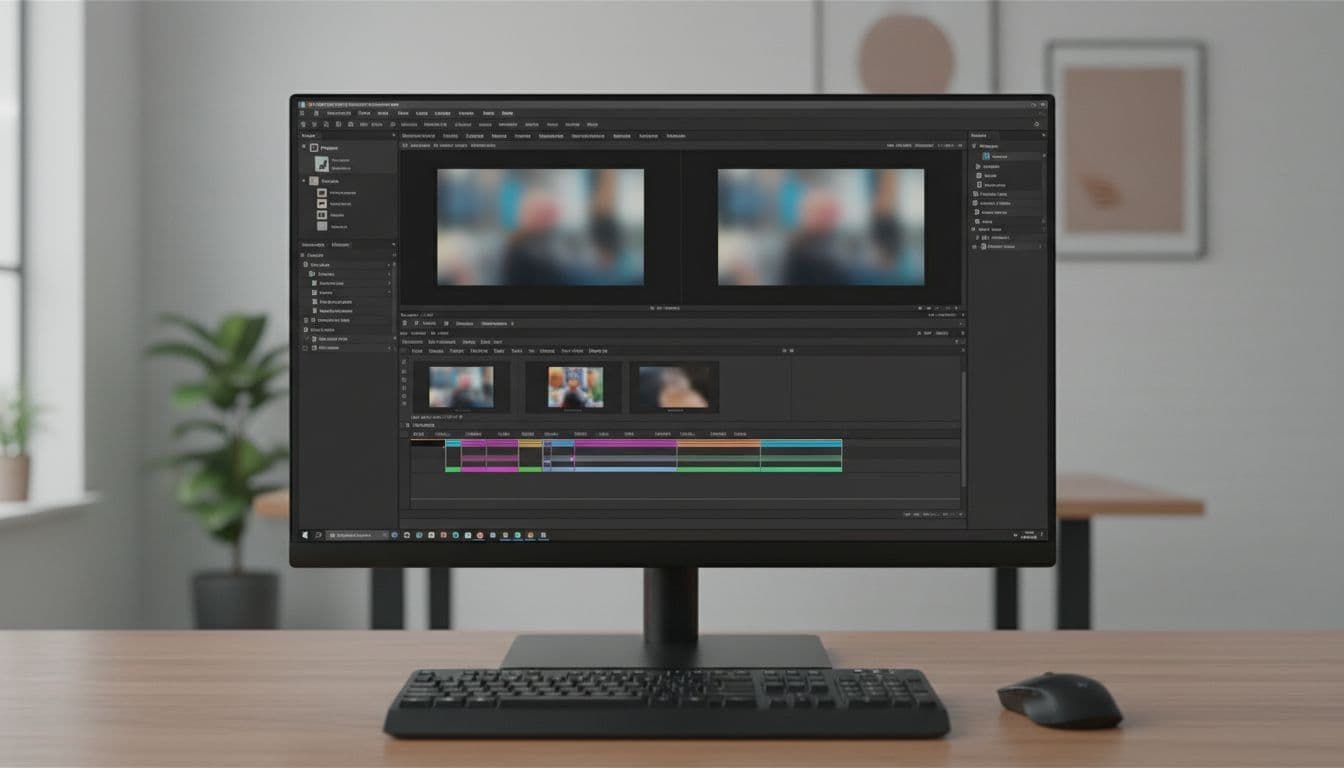
- Program Monitor: This plays your sequence, meaning the current edit.
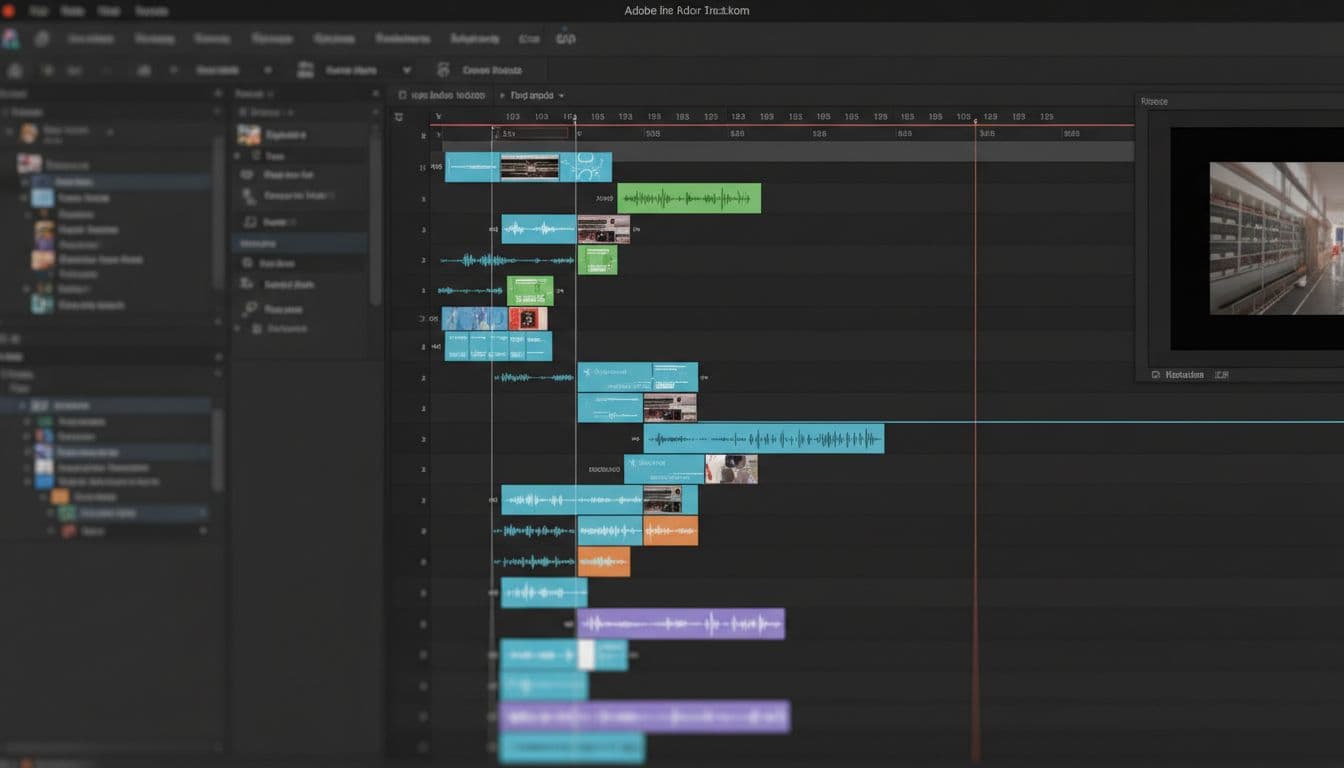
- Timeline: This is where the edit happens. The Timeline Video Tutorial Guide shows how tracks, playhead movement, and trims work.
- Effects panel: This holds transitions and effects, plus search.
Start with a simple setup that reduces mistakes:
- Create a new project, then choose a sensible save location.
- If needed, set scratch disks to a dedicated folder (especially on shared drives).
- Create bins (folders) before you import.
- Import media, then drag a main clip to the timeline to auto-create a matching sequence.
- Learn a few shortcuts: V for Selection and C for Razor, then add more later.
Organize like a pro from the start with bins and naming rules
The fastest way to slow down an edit is to lose track of files. The Project Folders Video Tutorial Guide teaches a habit that prevents chaos: decide a folder plan once, then reuse it.
A clean starter structure looks like this: Footage, Audio, Music, Graphics, Sequences, Exports. With that layout, you find assets quickly, and relinking media becomes easier if you move projects between drives. It also lowers the chance of "offline media" surprises after a restart.
Consistent naming helps even more. Use dates, camera labels, and version numbers (for example, "Interview_A_Cam_v2"). Also back up project files often, because small corruptions can waste hours.
How to use Adobe Premiere Pro to edit and export your first clean video
To learn how to use adobe premiere pro, follow one repeatable workflow and keep it boring. Boring is good, because it's reliable.
First, import your clips and listen through once. Next, assemble the best moments on the timeline with the Selection Tool Video Tutorial Guide mindset: click, drag, trim, and keep moving. When you need a hard cut, the Razor Tool Video Tutorial Guide approach is direct, cut on action, then delete the weak parts.
After you have a rough order, tighten timing. Use Ripple Edit Tool Video Tutorial Guide moves to close gaps without leaving empty space behind. Slip Tool Video Tutorial Guide adjustments help when a clip's position is right, but the moment inside the clip needs a nudge. For big shifts, Track Select Forward Tool Video Tutorial Guide habits make it easier to move everything after the playhead.
Add polish with restraint. Apply Transitions Video Tutorial Guide guidance for simple cross dissolves when a cut feels too sharp. Use Video Scaling Video Tutorial Guide practices to reframe, but avoid pushing scale so far that the image looks soft. When you need a tighter frame, the Cropping Tutorial Video Tutorial Guide steps keep it clean.
For simple titles, create text and shapes rather than hunting for templates. The Hand Type Tool Video Tutorial Guide explains basic text entry, and the Rectangle Tool Video Tutorial Guide helps you build a solid lower-third bar. When you need a quick mask, the Pen Tool Video Tutorial Guide makes it possible to hide a corner, blur a face, or limit an effect to one area.
A simple editing recipe: rough cut first, polish second
A rough cut answers one question: does the story make sense in order? At this stage, ignore fancy effects. Concentrate on clarity, pacing, and removing dead time. Your timeline should feel like a readable paragraph, not a pile of sentences.
After that, move to the fine cut. Tighten pauses, smooth jumpy audio, and check that each shot earns its place. Ripple edits are ideal here, because they close space as you trim. Slip edits also matter, since they change what part of a clip shows without moving the clip's spot in the timeline.
When the story holds up without effects, everything else becomes easier.
Export settings that work for most people (and how to avoid common mistakes)
Export sits at the end of the process, but it can still break a project if you rush. In the Export window, choose a common delivery format like H.264 and a preset that matches your target, often 1080p for web video. Then confirm frame size and frame rate match your sequence, because mismatches can cause odd motion or soft output.
Name the file clearly and choose the right folder, ideally inside your Exports bin location. Before you click export, listen for clipped peaks, and watch the first and last seconds for missing audio or accidental black frames.
If you want a guided walk-through, follow the How to Make a Video And Export it Video Tutorial Guide and compare each step to your own project.
Export is a final quality check, not just a button. Treat it like the last proofread.
Conclusion
You now understand what Premiere Pro is, how the interface fits together, how to complete a basic edit, and which tools matter when you refine timing, add simple graphics, and export. With that base, each new project becomes practice rather than guesswork.
If you want an adobe premiere pro tutorial you can follow at your own pace, GalaxyonKnowledge offers a free Adobe Premiere Pro video tutorial course at no cost, including a Free Adobe Premiere Pro courses playlist. Practice with a 30 to 60-second clip each day, because short reps build real skill. Start with the interface and timeline lessons, then move to cropping, scaling, transitions, and export, and publish your next video with confidence.